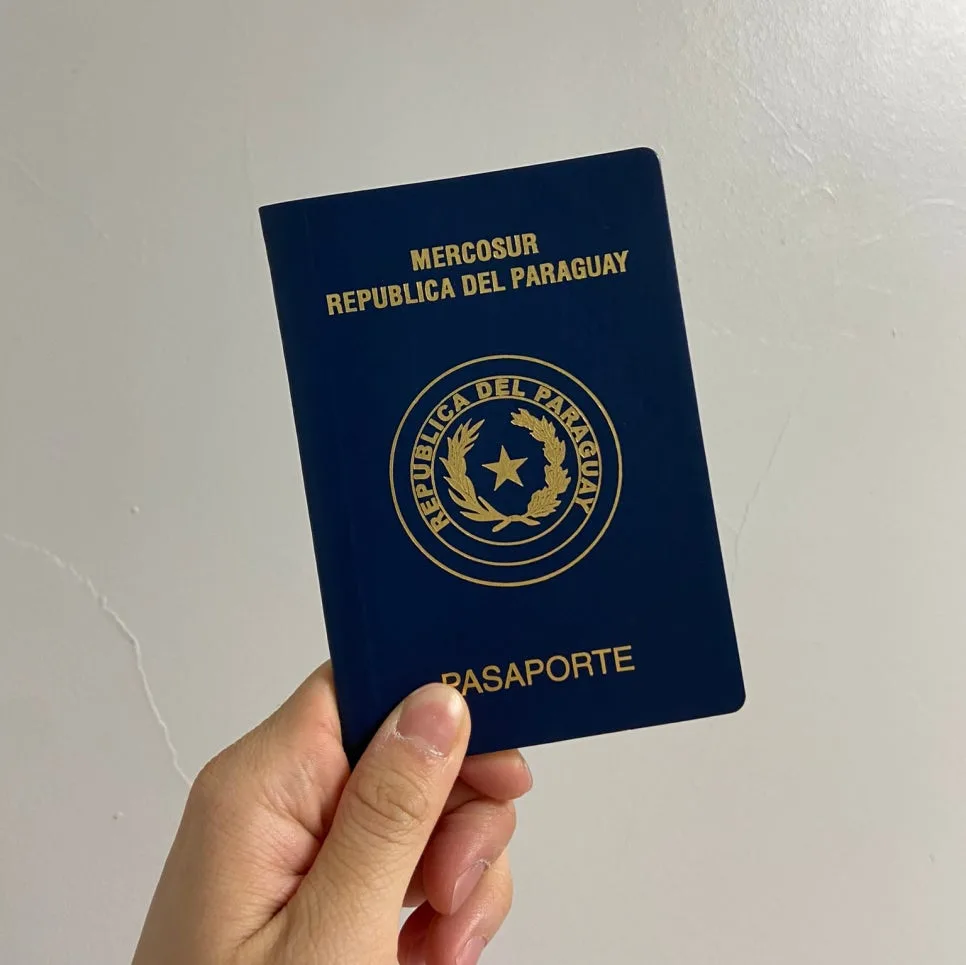
Planning a trip to Japan in 2026? Registering for the Visit Japan Web app is a must. The system allows one primary user to manage family information and duty-free QR codes, significantly simplifying your entry process. This guide provides a step-by-step walkthrough on when to register, how to add family members, and how to utilize the duty-free QR code feature.
When Should You Register for Visit Japan Web in 2026?
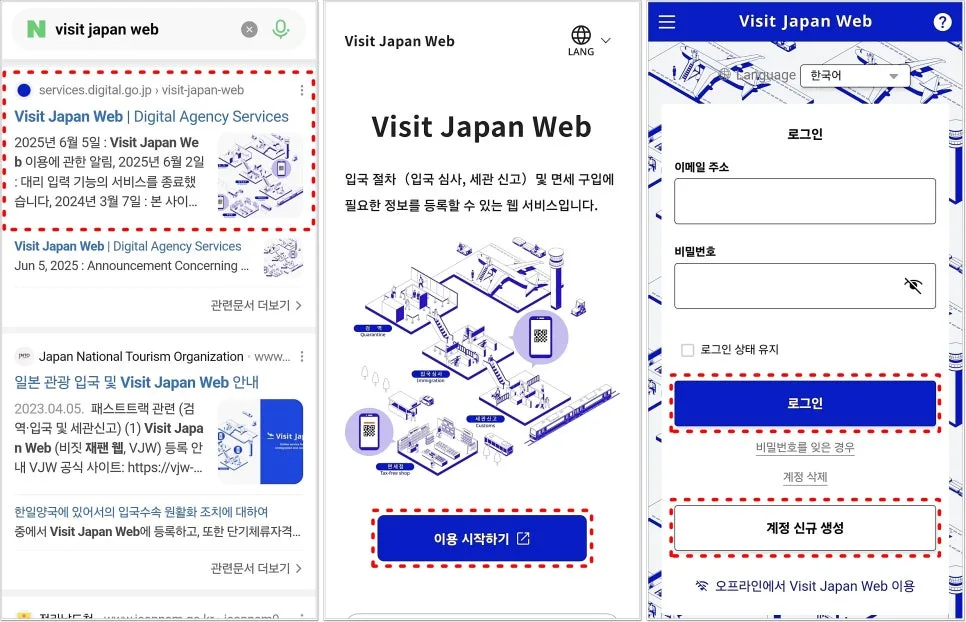
You can register for the Visit Japan Web app anytime from two weeks before your departure until the day of your trip. If you're a first-time user, you'll need to start by creating an account on the official website. Select 'Start Using' and then choose either 'Log in' if you're a returning user or 'Create New Account' for new users.
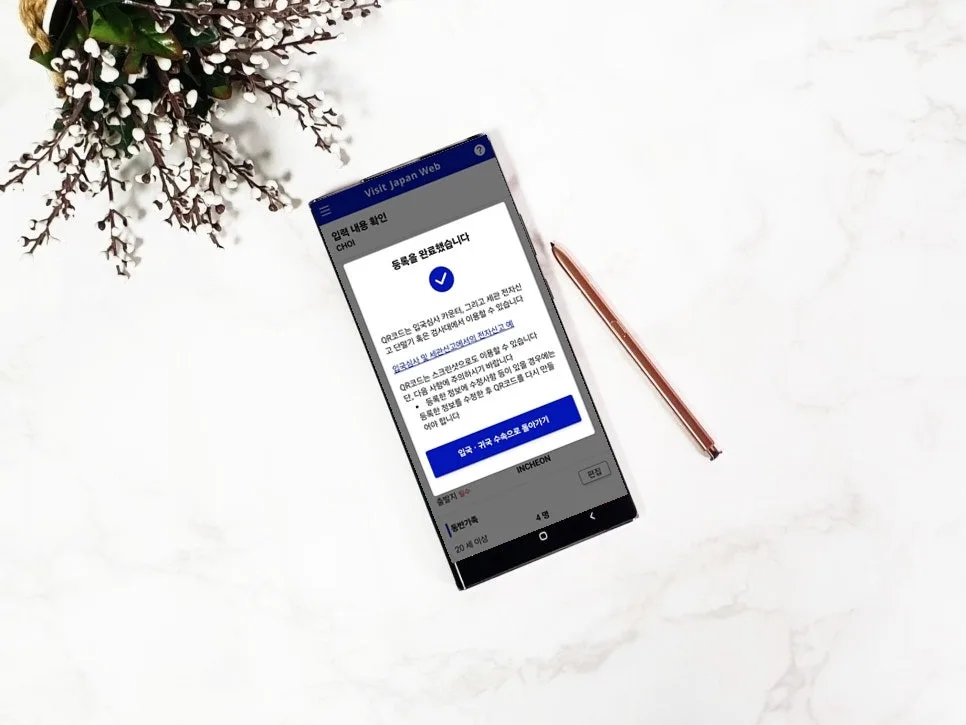
It's crucial to accurately enter your personal information, including your passport number, nationality, and date of birth. Based on user experience, registering in advance can save you valuable time at the airport on your travel day, allowing for a more relaxed start to your journey.
How to Register Family Members with One Account
If you're traveling with family or a group, it's most efficient for one person to register everyone's information. After completing your own registration and entering your personal details, navigate to the 'Family Member Information' section and click '+ Add'. Here, you can input the passport details for each accompanying family member and select whether they will use the duty-free QR code.
Opting for the duty-free QR code allows for a streamlined shopping experience at participating duty-free stores, as you can present the app's QR code instead of your passport. While the camera scan feature can auto-fill passport information, always double-check for accuracy to prevent any issues.
Simplify Japan Entry and Customs with Visit Japan Web
Once family information is added, you'll need to register your arrival and departure details. Select 'Register New Arrival/Departure Schedule' and accurately input your flight information, including the arrival date, airline, flight number, and departure city. This information is essential for generating your QR code.
Next, you'll need to enter your accommodation details in Japan. You can find the hotel's postal code on booking sites or map applications, which will auto-populate the address. Enter the hotel name and your mobile phone number (excluding the country code +82). After completing all fields, click 'Register Schedule' to confirm your itinerary.
Navigating Customs Declarations for the Whole Family
After registering your travel schedule, proceed to the customs declaration. If you have accompanying family members, one person can complete the declaration for everyone. In the 'Immigration and Customs Declaration' section, select all individuals included in the declaration and answer the questions regarding your visit's purpose, length of stay, any prohibited items, and whether you possess high-value goods.
Once all procedures are complete, the 'Show QR Code' button will become active on your itinerary screen. This comprehensive QR code covers immigration, duty-free checks, and customs declarations, so it's highly recommended to capture a screenshot and save it for offline access, especially if internet connectivity might be unreliable. If you need to make changes to your registered information, you can do so under 'My Information → Edit'.
English crawl path
Next English reads from this pilot cluster
Continue through the category hub, latest English stories, and related posts so this translated article is not an isolated URL.
Tags
💬Frequently Asked Questions
What should I check first in Visit Japan Web Guide 2026: Family & Duty-Free QR Setup?
Does this World Travel article link back to the Korean source?
Where can I find similar English stories?
English discovery path
Explore more English K-culture stories
Keep browsing the indexed English pilot cluster so Google and readers can move between this story, the category hub, and fresh discovery pages.
Original Source
Read the Korean original