Upgrading your kitchen cabinets with interior film is a fast and effective way to refresh your space without the dust, noise, or long renovation times associated with traditional remodeling. This method is perfect for post-move-in updates, allowing you to transform furniture like cabinets and built-in wardrobes. Choosing the right film and understanding the application process are key to achieving a brand-new look for your home in 2026.
Why Interior Film is the Answer for Post-Move-In Kitchen Cabinet Refacing
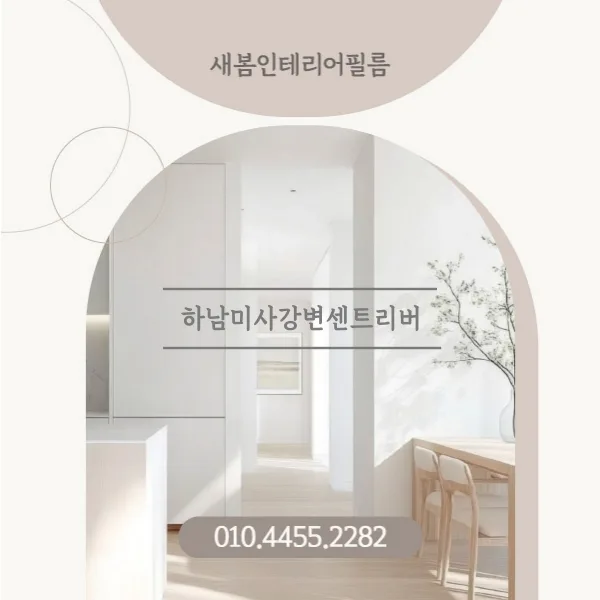
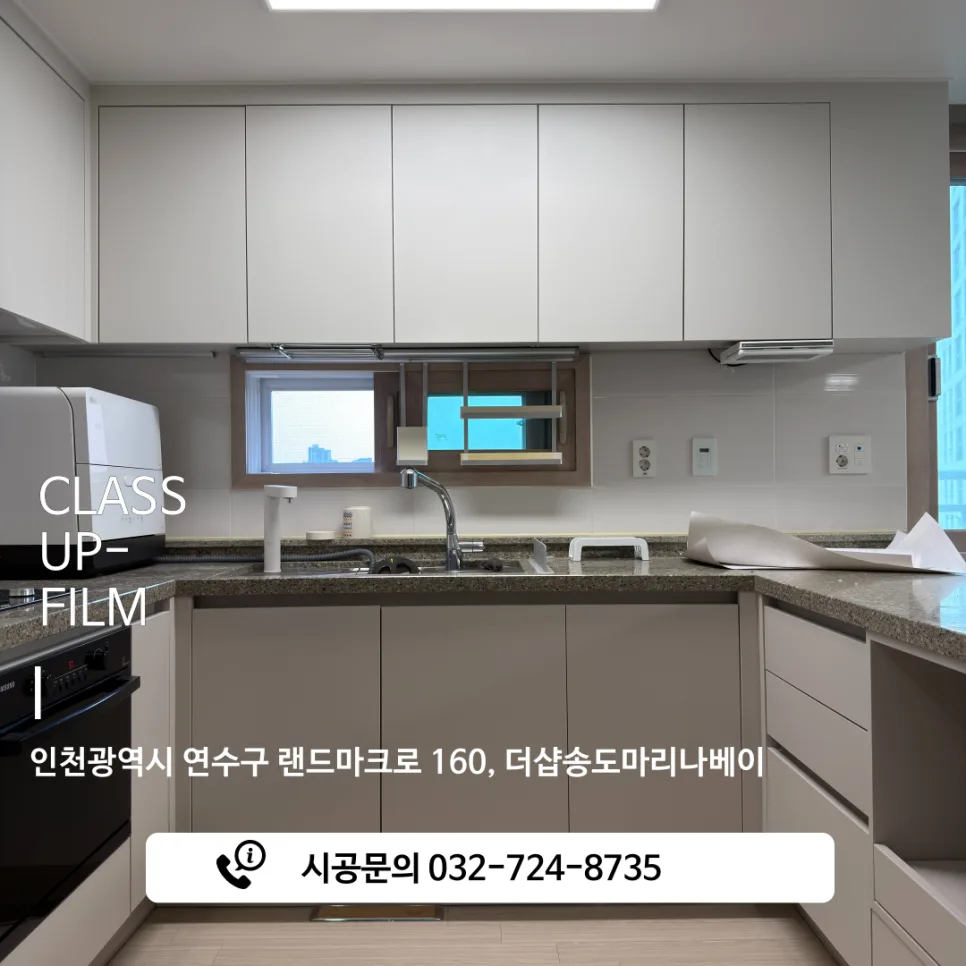
Many new homeowners find their apartment's interior feels a bit dull, leading them to consider costly renovations. However, if you're looking to avoid the mess, noise, and extended timelines of a full remodel, interior film application is an excellent alternative. It can be applied not just before moving in, but also afterward, making it a flexible solution. This is especially true for glossy kitchen cabinets or built-in wardrobes that might have yellowed or lost their luster over time. Applying a new film can solve these issues and give your entire home a fresh, vibrant feel. For instance, a project in the Marina Bay apartment complex in Songdo, South Korea, successfully addressed yellowed, glossy cabinets by using interior film, significantly boosting customer satisfaction.
Interior film offers a practical way to achieve a dramatic space transformation with relatively low cost and time investment.
Choosing the Right Interior Film for Your Kitchen Cabinets
Related Articles
The success of an interior film project hinges on selecting the correct film. The ideal choice depends on the furniture you're applying it to, the aesthetic you desire, and its existing material and color. For example, you might use one film for the lower kitchen cabinets (like ES140) and a different one for the upper cabinets and pantry (like PS156) to create a stylish two-tone effect. Alternatively, for built-in wardrobes, vanities, or dressing room doors, a calming white-toned film such as PS170 can make the space feel more open and expansive. In the Marina Bay apartment project, the client's request for a subtle, grey-toned two-tone kitchen cabinet design that complemented the existing refrigerator resulted in a sophisticated and modern kitchen.

It's crucial to consult with a professional to assess the surface condition and discuss your design needs to select the most suitable film.
What's the Process for Applying Interior Film to Kitchen Cabinets?
The interior film application process typically involves a scheduled consultation and site visit, an assessment of the surface condition, film selection, the actual application, and final completion. Before any work begins, a thorough evaluation of the existing surface is essential, as it influences the type of film and application method used. On the day of the installation, ensuring adequate workspace is critical. For cabinets with side-opening drawers or smaller built-in units, clearing the surrounding area beforehand will facilitate a smoother process. Since the film is cut on-site, sufficient room for the technicians to work is necessary. Following these preparatory steps and relying on the expertise of professional installers will lead to a satisfactory outcome.
Key Considerations Before and After Interior Film Application
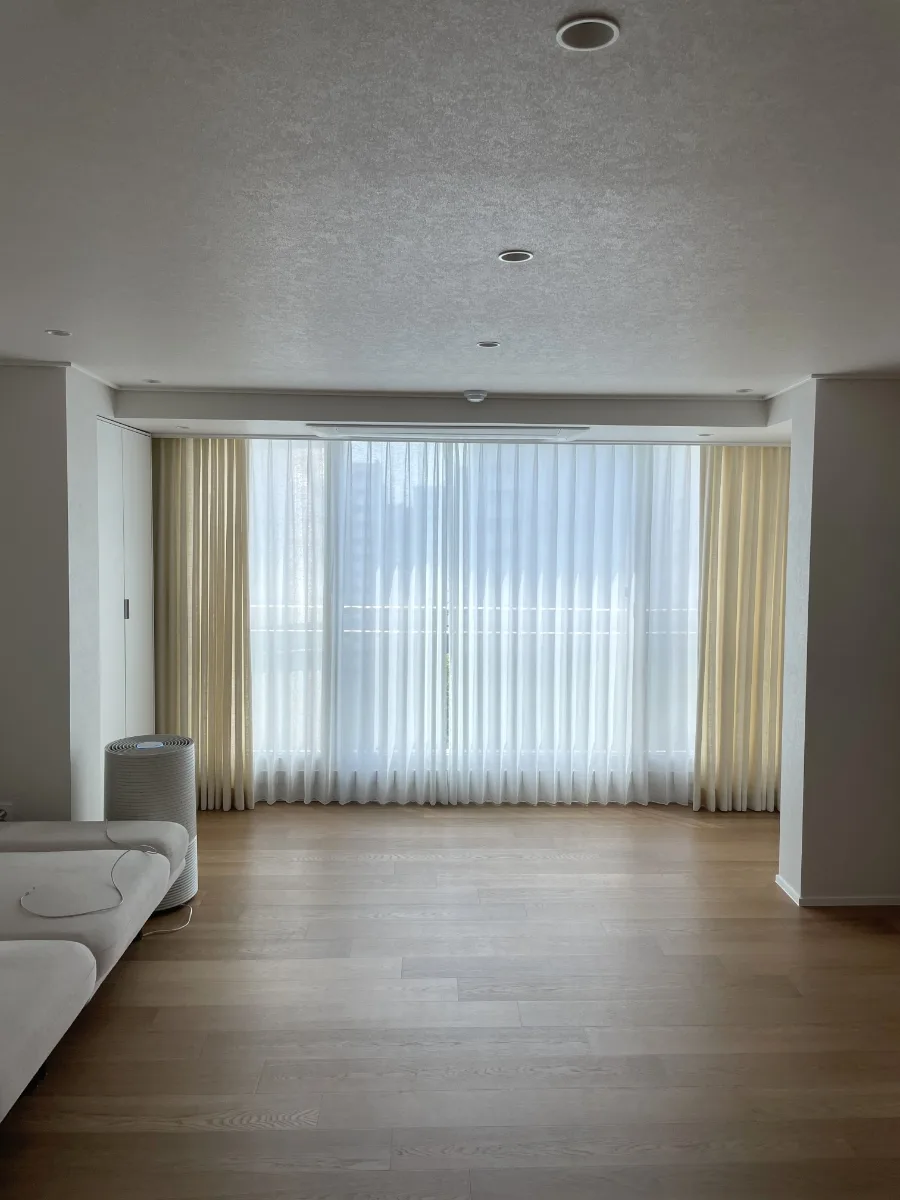
While interior film application is relatively straightforward, there are a few important points to keep in mind. First, having items in the way can hinder the work, so clearing the area around the cabinets to be treated is necessary. Second, as mentioned, ample space is needed for on-site film cutting and application. Third, different films have varying levels of heat and durability resistance. For areas like kitchens, where heat and moisture are common, it's vital to choose a film specifically suited for such environments. Finally, post-application care is important. Gently wiping the film surface with a soft cloth is recommended. Avoid using harsh detergents or sharp tools, as these can damage the film. Adhering to these guidelines will help maintain the film's appearance and extend its lifespan, ensuring long-term satisfaction with your updated space.
For detailed consultation, contact Class Up Film.