Embarking on a DIY wallpapering project for an entire home is significantly more challenging and time-consuming than most anticipate. For beginners, unexpected issues and the potential for costly mistakes are high, demanding a cautious and well-prepared approach. This guide shares crucial lessons learned from a 25-day self-wallpapering experience.
How to Prepare for DIY Wallpapering an Older Home in 2026
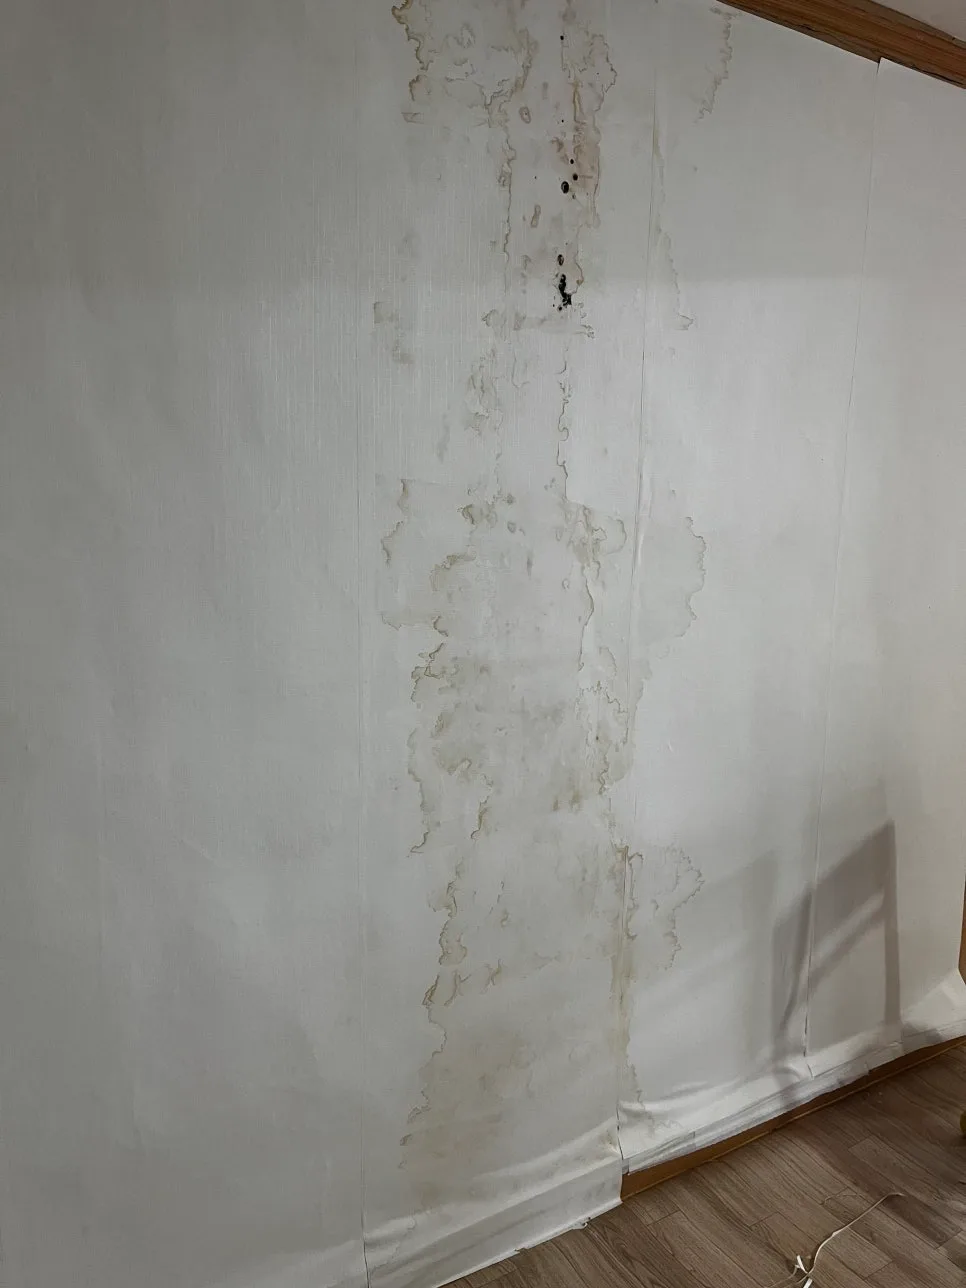
The project involved wallpapering a 40-year-old villa that had been neglected. While I had a wallpapering certification, this was my first practical application, bringing both excitement and the pressure of achieving a flawless finish solo. Upon inspection, I discovered evidence of a ceiling leak from 2-3 years prior and noted that the existing wallpaper was layered 4-5 times. I decided removing all the old wallpaper was the best course of action, a decision that proved to be a significant challenge during the process.
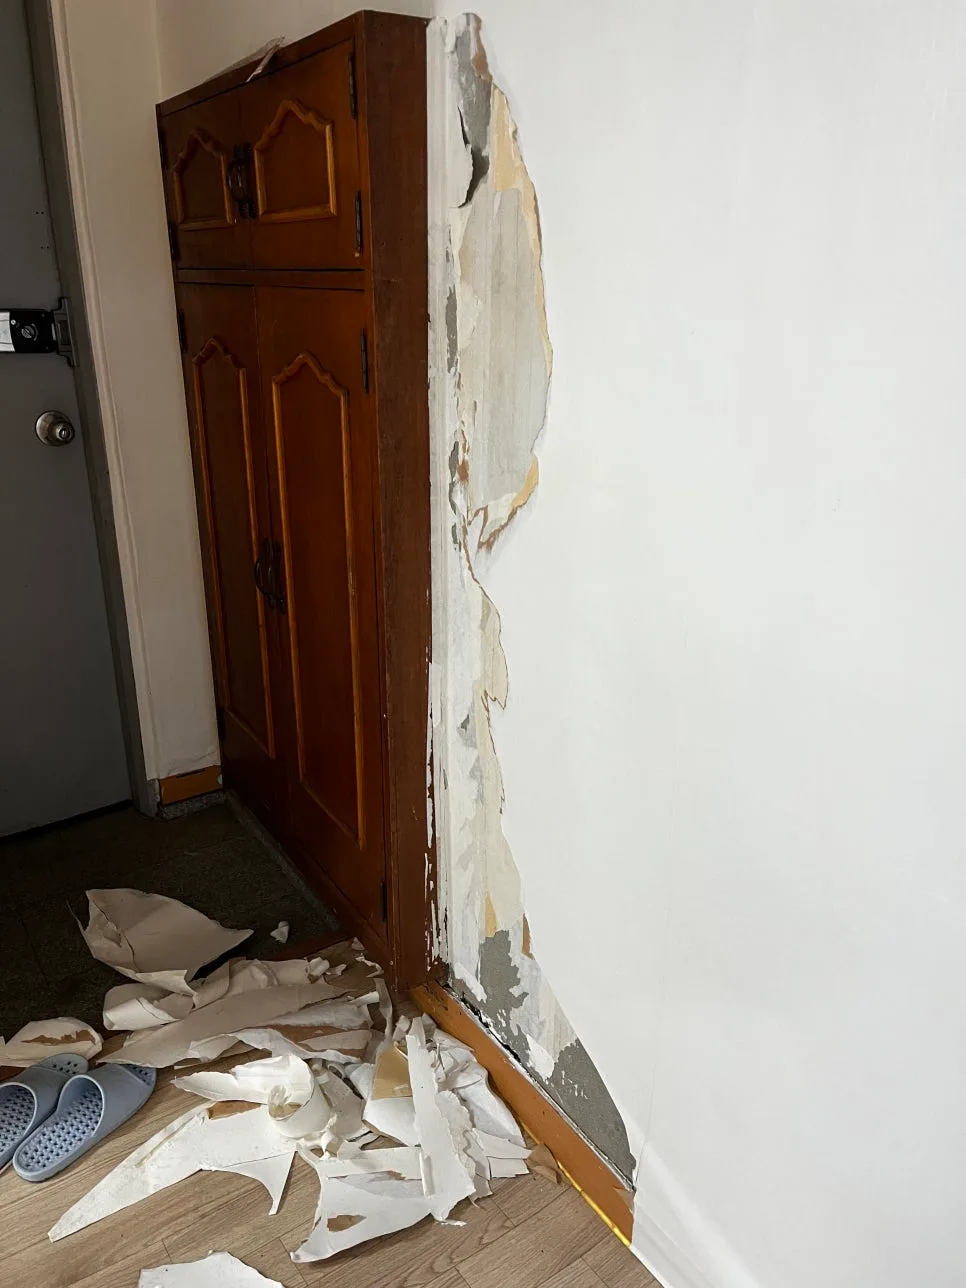
Beneath the old layers, mold was discovered, requiring treatment with a bleach-based cleaner. Additionally, the original molding and baseboards were in poor condition, necessitating some repairs or replacements. These site-specific issues considerably increased the difficulty of the DIY wallpapering task.
Essential Pre-Wallpapering Steps: Patching, Sanding, and Sealing
After removing all the old wallpaper, smoothing the walls by filling imperfections was a critical next step. I attempted patching and sanding myself, but covering a large area proved to be incredibly labor-intensive. The walls had numerous holes, which I filled using expanding foam – a material whose expansion properties I learned about on the job. I also applied a moisture-resistant barrier as requested, a process involving applying adhesive and then reinforcing seams with a special tape. However, I later learned that this barrier might not be entirely effective against mold prevention.
The molding and baseboards were meticulously covered using a triple-layer paper technique to ensure a clean edge for the new wallpaper.
DIY Wallpapering Techniques: Adhesive Application, Cutting, and Ceiling Installation
Without specialized machinery like a paste machine or mixer, I prepared the wallpaper adhesive by hand. While practicing in a course made it seem manageable, applying the adhesive to dozens of large wallpaper sheets alone was physically demanding, straining my back and knees. The living room ceiling wallpaper had to be removed due to the previous leak, but the bedroom ceilings were in better condition, so I opted for a simpler overlay. Although I was hesitant about installing the ceiling backing paper, research revealed that even with an overlay, the 'wings' – the parts that tuck under the molding or baseboard – needed to be trimmed. This taught me that DIY wallpapering often involves unforeseen variables and additional tasks.
Common Wallpapering Flaws and Expert Reflections
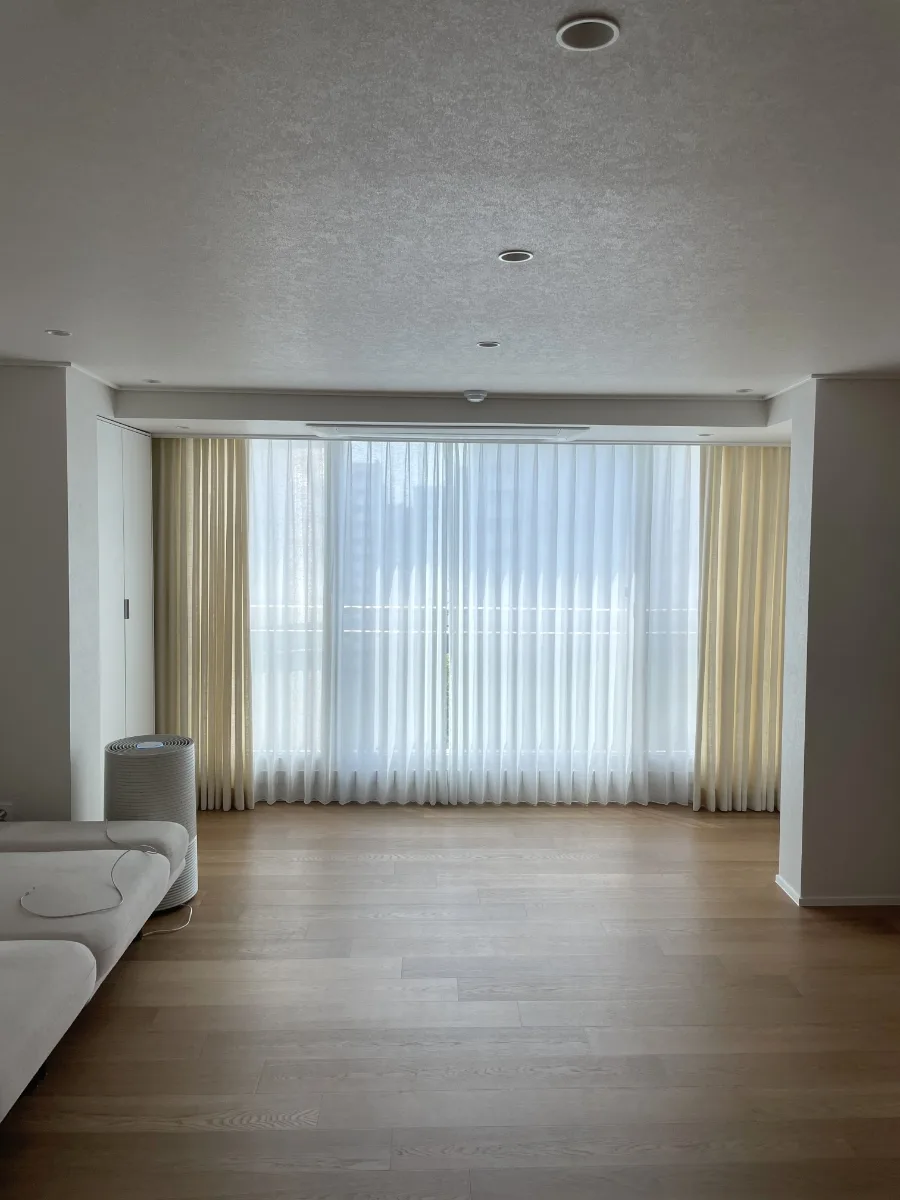
After a total of 25 days, I completed the wallpapering for three rooms and the living room. While the quality wasn't perfect, my associate was pleased that the wallpaper adhered well to the walls. During the process, I encountered various issues, including insufficient adhesive leading to peeling, poorly angled internal corners, lifting due to the triple-layer paper, and missed adhesive on the backing paper. Working alone made the isolation particularly tough, but a sense of responsibility kept me going. This experience underscored that DIY wallpapering is not just about saving time and money; it's a test of physical and mental endurance. If you're considering a full home DIY wallpapering project, thorough research and realistic expectations are essential. Depending on your circumstances, hiring a professional might be the wiser choice.
Discover all the steps and tips for DIY wallpapering in the original article.