Installing "charreu" (flowing) curtains yourself in 2026 is achievable by focusing on the number of curtain runners (the small wheels or hooks on the track). Matching the runner count to your new curtain's pin count is crucial for a seamless closure; otherwise, you might face a double installation. This guide provides essential tips for a flawless DIY curtain setup, ensuring a beautiful, flowing look for your US home.
Why DIY Curtains Can Lead to Double the Work (And How to Avoid It)
Many Americans decide to DIY curtain installation, especially when moving to a new home with different ceiling heights. If your old curtains are too long and drag on the floor or are too short for your new space, replacing just the fabric is a smart, cost-effective solution. While it seems straightforward, a common mistake can lead to redoing the entire job: failing to match the number of curtain runners (the small wheels or hooks that attach to the curtain track) with the number of pins on your new curtain. I learned this the hard way, and it meant disassembling the track to adjust the runners. This guide will walk you through the simple steps to avoid that extra hassle and achieve a professional-looking result.
How to Remove Old Curtains & Check Runner Count
The first step in your DIY curtain project is removing the old curtains. This is usually as simple as unhooking the pins from the curtain track. While they're down, it's a great opportunity to clean any dust from the window frame and track, making your space feel fresh. The most critical part of the process is accurately counting the runners on your existing curtain track and comparing that number to the number of pins on your new curtain fabric. My personal experience involved having too many runners on the track, which prevented the new curtains from closing fully. To fix this, I had to temporarily remove the track from the ceiling, adjust the runner count, and re-secure it. So, before you hang anything, count your new curtain's pins and verify the runner count on your track. This simple check is the key to avoiding a frustrating double installation.
Attaching Curtain Pins & Achieving a Tone-on-Tone Look
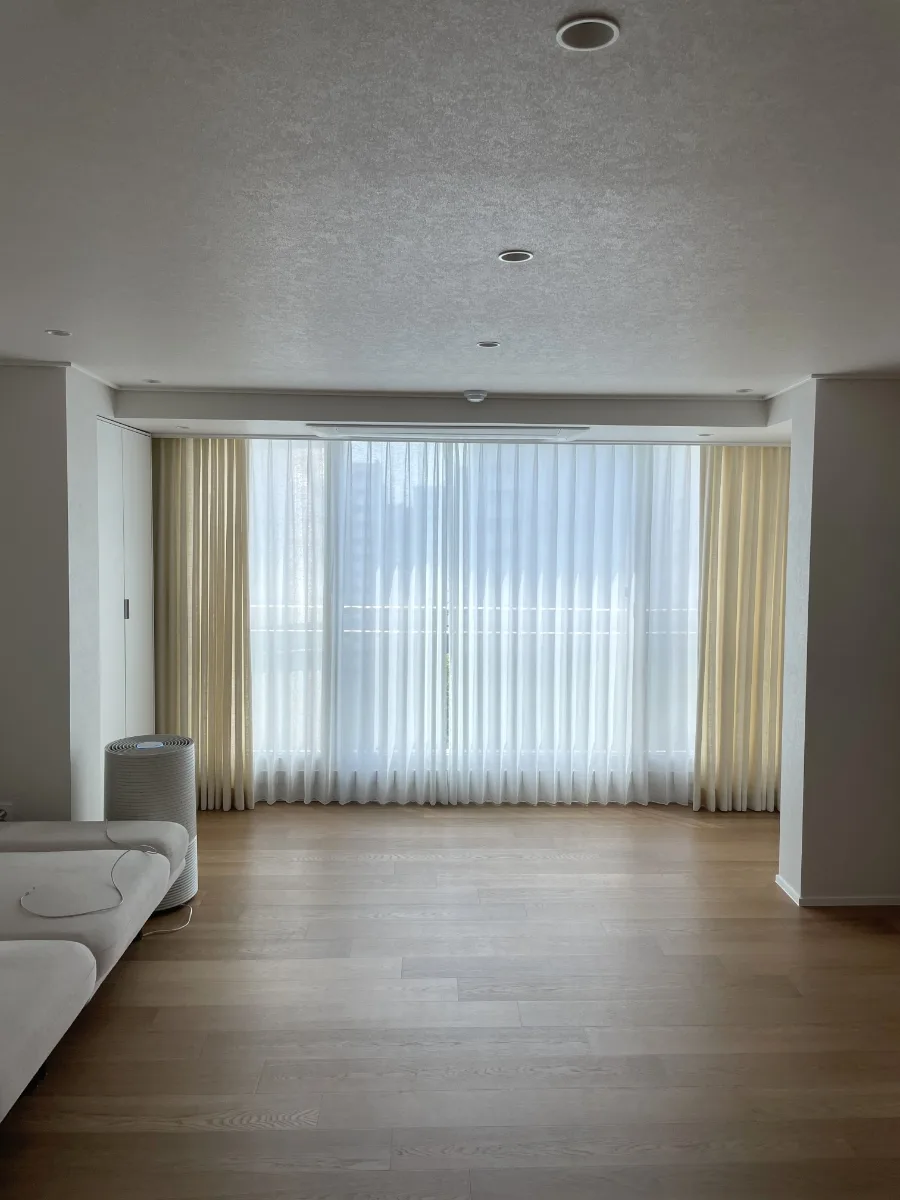
Once you've ensured the runner count is correct, the final step is attaching the new curtain pins to the track's runners. If you're comfortable using a drill, this part is quite easy. By adjusting the curtain length to hang about 1-2 cm (approximately 0.5 inches) above the floor, you'll achieve a perfect drape that looks both elegant and is easy to maintain. Opting for a soft ivory or cream-colored curtain fabric can beautifully complement cream-toned walls, creating a warm and inviting atmosphere through a tone-on-tone color scheme. This approach enhances the overall interior design, giving your living space a cohesive and polished feel. Installing curtains that are perfectly sized and thoughtfully colored can make your living room feel custom-designed.
Key Precautions for Successful DIY Curtain Installation
While installing "charreu" curtains yourself is manageable, keeping a few key points in mind will ensure success. First, always verify the number of runners on your curtain track and match it to the pin count on your new curtains. Too many runners will prevent a full closure, while too few can make the curtains look loose. Second, when selecting your curtain fabric, consider colors that harmonize with your existing wall paint or overall interior theme. A tone-on-tone approach, like pairing ivory curtains with cream walls, creates a more unified and serene space. Third, aim for a curtain length that hovers about 1-2 cm (0.5 inches) above the floor. This length maintains the curtain's aesthetic appeal and simplifies cleaning. Paying attention to these details will help you achieve a professional finish, even if you're a beginner. If you encounter difficulties, don't hesitate to consult online DIY communities or professional installers for guidance.
DIY Curtain Installation Review: Worth the Effort!
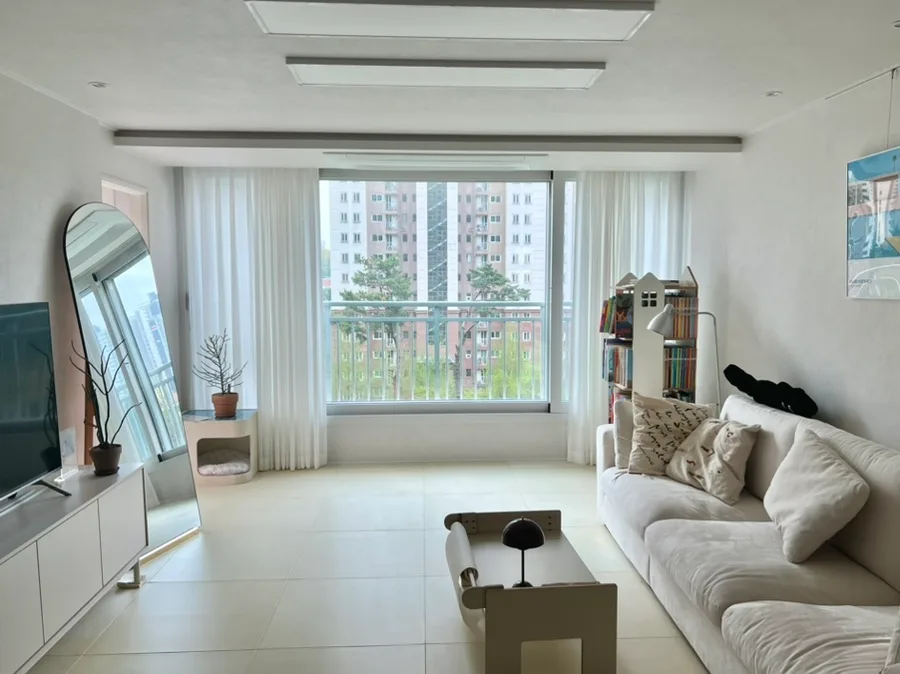
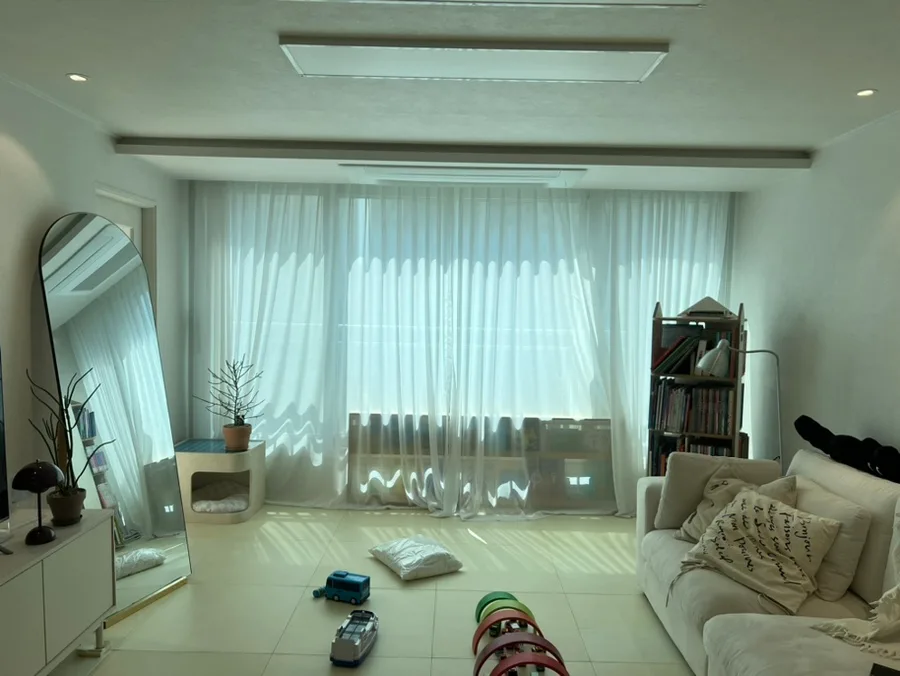
Despite the unexpected hurdle of adjusting the track runners, the final result was incredibly rewarding. The curtains now hang at the perfect length, just clearing the floor, and their soft, flowing material has significantly brightened the living room. The custom fit, tailored to our home's ceiling height and wall color, provides a sense of bespoke elegance. If you're considering updating your window treatments, I highly recommend embracing the DIY approach for curtains. The satisfaction of a job well done, combined with the noticeable improvement in your home's ambiance, makes the effort entirely worthwhile. It's a fantastic way to personalize your space and achieve a high-end look without the high-end price tag.
For more details, check the original source below.